How To Keep A Fire Going
-
Save
Share this article: Bugoutbill.com is independent – we research, test, and rate the top products to help you make the right buying choice. We sometimes use affiliate links and may receive a small commission on your purchase. Learn more…
Overview
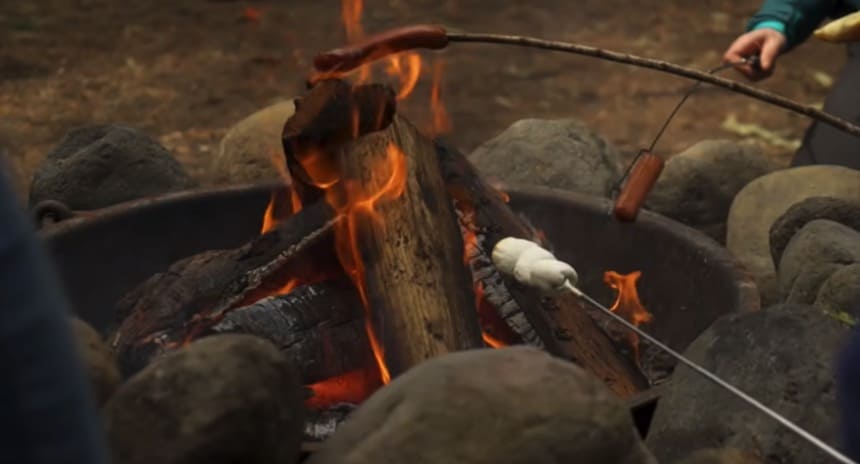
Nothing ruins a cozy and easy evening more than having to blow up a fire every fifteen minutes.
Whether it’s for survival or a weekend marshmallow-roasting session, knowing how to maintain a good fire is one important skill to have.
And it’s not as complicated as the movies would have you believe!
Below, we’ve listed the best ways to keep a good fire burning, whether it’s for your home, camp, or your backyard.
Light it up!
Step By Step Guide:
Table Of Contents
Table of Contents
Recent posts
Categories
Implementing The Half Inch Wood Rule
-
Save
Now, let’s start with an old rule of thumb in burning fire which is the half-inch rule. In case you’re lost as to how much wood you’ll need to survive the night without adding in more, use this as your guide.
Basically, the half-inch rule states that for every half an inch your fire burns, it will take at least 45 minutes to an hour for it to char.
Now you can use that to plan how much fuel to use and even budget your wood and tinder.
On the other hand…
You also can’t use this exact measurement every time you need to maintain fire as it also depends on the type of wood you’re using.
This measure changes when it comes to woods that are thicker than 6 inches. In this case, it becomes about an inch for every hour.
Generally…
Thicker woods burn slower, as well as new woods, as opposed to old wood.
You can also consider the moisture level of the wood, but most campers still like to use this rule as it works accurately most of the time and helps immensely when trying to budget your wood for the day or night.
Putting Slow Burning Wood
-
Save
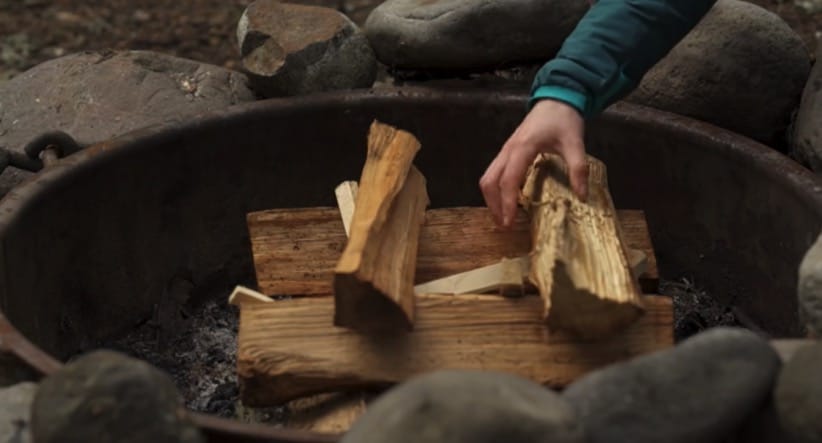
The goal here is to have a nice, slow-burning fire, as opposed to a big, aggressive one. If you want sustainability, you don’t need that.
So, to be able to achieve this, look for slow burning wood that can retain heat and fire for hours and hours on end.
In case you’re wondering…
Here are the best woods that burn hot and slow that’s perfect for an overnight fire.
Hard Maple – Hard maple has a low density so it seasons much quicker than other woods. As a result, it’s usually a perfectly dry wood that you can use for your fireplace or camp. And it doesn’t hurt that it gives off such a cozy aroma, too!
Ash Wood – Interestingly, ash has a very low moisture content so it seasons or dries half the time as other woods. As a result, it burns evenly and slowly and even generates a lot of heat while at it.
Oak – Oat wood is one of the best woods for that good slow burn. It’s also very easy to split, too. Not to mention, they burn real hot and leave fewer saps than others.
Apple – This wood has a sweet fragrance and burns slowly when it’s dry, making it ideal for cooking and overnight fire.
Black thorn – Because it burns well and produces little smoke, it is regarded as one of the best firewoods.
Hawthorn, walnut, yew, and pine also burn well and slow.
All of these are called hardwood logs or hard woods. Because they’re denser, they burn slower.
But on the other hand…
You can also use softwood. These kinds of wood burns rather quickly so you can use them when you’re just starting your fire and then add your hard wood afterward to be able to sustain the fire.
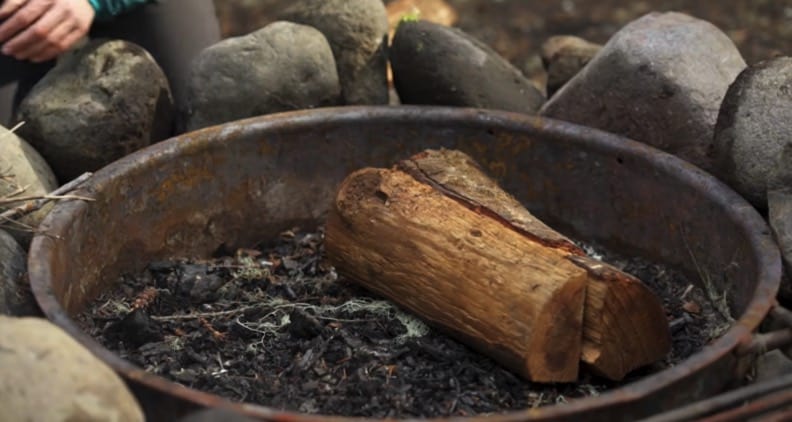
Using Ash To Cover The Wood
-
Save
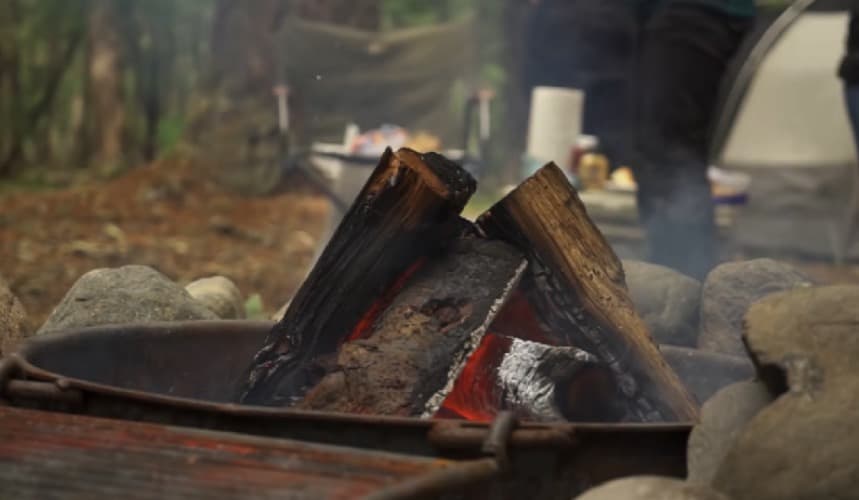
Now, let me let you in on a secret.
Did you know that you can actually cover your wood to be able to prolong its heat and burn?
Burying the logs you intend to burn may seem nonsense at first glance, but if you have a good hot coal bed, burying the wood is a terrific strategy for a long-burning fire.
Now, this is the trade secret that not a lot of people are aware of!
The coals will continue to burn and heat the wood, but the heat will be diffused from beneath the wood to all around it.
The result? A long but steady burn all throughout the night.
But take note: We say bury but you just have to cover it really well. Always make sure that there’s still enough opening for oxygen to enter as it’s necessary to keep your fire burning. The lack of oxygen won’t make it last longer than ten minutes.
Using Self-Feeding Fire
-
Save
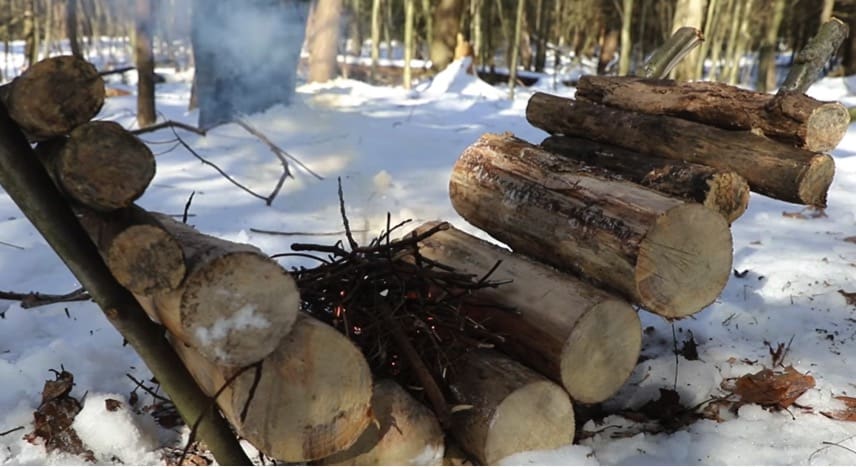
The self-feeding fire pit is a skill you’d want to master if you want a perfectly sustainable fire that burns all night long so you won’t have to wake up in the middle of the night to light your wood fires because it has gone out and you’re freezing cold.
The idea here…
Is to build a ramp where you will assemble your logs in and just let them roll and catch fire one by one. Basically, this contraption feeds the fire automatically. And the best part? It can last for more or less 12 hours!
The first step in making your self-feeding fire pit is to build the ramp. Now, it might take more work than the usual fire pit but it’s definitely worth it.
An angle of 45 degrees is just right so that the logs could roll down at a moderate pace and not race aggressively down or just get stuck.
You can secure your ramp with concrete slabs below to catch the burning logs so that they won’t roll around the place and spread the fire.
Now…
You can get your fuel, that is, your logs, and assemble them adjacent to each other on the ramp.
There should be two logs at the foot of your ramp. It is between them where you begin your campfire burning. Put your tinder there and start the fire.
The idea of a good self-feeding fire is to maintain the initial fire that’s focused between the fuel logs while regularly sustaining it. It’s also important to establish a solid ember base before leaving your fire pit to feed itself.
Once the two base logs are consumed, the next ones will roll down and it will go on for hours until the last log is spent…which is most probably the morning after!
Mastering The Tipi Design
-
Save
If the self-feeding wood fire is too much work for you or if you don’t readily have all the materials needed to make one, you can turn to the tipi method instead.
Also called teepee, this design is basically a top-down cone made up of kindling and fuelwood.
This works best if you’re making a fire outside of your home.
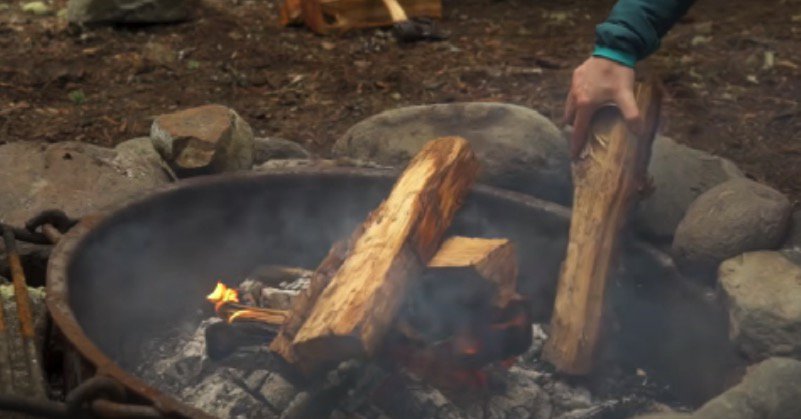
Before assembling your cone of woods, put your tinder at the center of the pit first. Scatter them around before placing a kindle around them.
Then lean about 3 pieces of split logs or wood around your kindle. Position them at 12 o’clock, 4, and 8 so they form a circle.
Now you can light a fire in the middle of your tipi. The bottom parts of your woods will burn first and then the top ones will eventually fall into the fire after. For best results, use hardwood or seasoned wood for a nice slow burn.
Now, remember…
The secret to a good tipi fire is layering your logs.
The Top Down Method
The top down method is the reversed traditional way of building fire.
To do this, the larger logs should go at the bottom of the fireplace (or grate), while the smaller logs go on top. The kindling can then be put on top of the smaller logs, along with any type of fire starters, such as newspaper or shaved wood.
At the base, the large logs should be laid tightly together while the smaller ones on top are laid on to of each other perpendicularly so there are enough gaps for ventilation.
Why the top-down method?
This method is a favorite among campers who aim to have a fire going throughout the night without having to add more logs.
Because a top-down technique burns downwards, bigger logs may be utilized while creating the fire. But these larger logs should not be added to a traditionally created fire at the first stages because they can suffocate or block the oxygen that keeps the fire going.
Adding Enough Ventilation
We all know that fuel and heat are essential to build and keep a fire going. But oxygen is also just as important.
Ever wondered how come you still wake up with your fire out even with the number of logs you left in the pit?
That’s most probably because the debris and ashes that have collected below are blocking the ventilation which, in turn, makes the fire die out..
That’s why, in assembling your fire pit, it’s important to take the air supply into consideration.
The thing is…
More oxygen means more and stronger fire.
The goal is to make sure that oxygen will always be able to get to the base of your fire pit. To do this, make sure you arrange your wood perpendicular or crisscrossed with each other to leave gaps in between where air could go through.
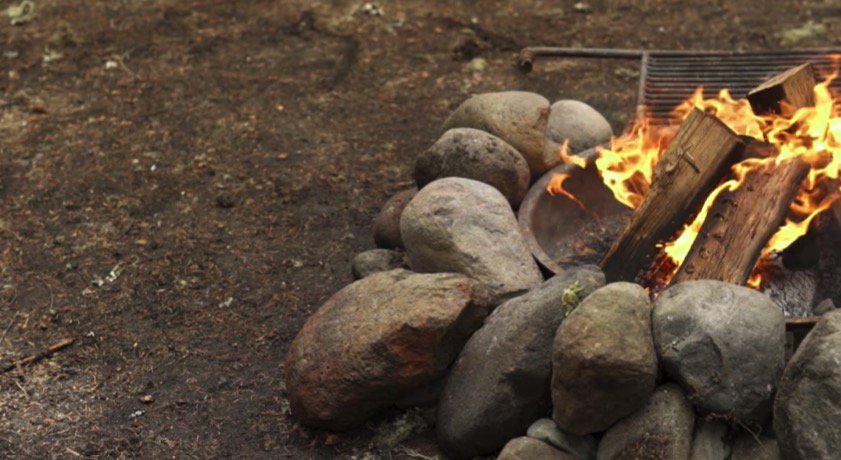
In addition to that…
You should also opt for bigger rocks as a border for your fire pit instead of smaller ones because bigger rocks, when laid side by side, create bigger gaps where air could pass through and fuel the fire, as opposed to the smaller rocks which could pack so tightly together that there’s no opening for ventilation left.
Choosing the right location
If you’re wood burning just for fun, the first thing that you should do is to review the local laws about building and using fire pits in your state, as well as in your homeowner’s association if you belong to one
Now, laws are cleared, you can choose the location of your fire pit next.
Make sure that it is at least 10 to 30 feet away from any structure, and even trees with low-hanging branches and limbs, piles of wood, bushes, and other materials that can easily catch fire.
It’s a known fact that fire is predictable so you want to build your fire in an open space. If you’re using wood, composite decks, or grass, it can also work only if you have a fireproof barrier.
Another important point to consider….
Is making sure that you’re not building fire over a root system. Once you ignite a root system, your fire could go for miles even as some trees’ roots are intertwined with each other.
Creating A Fire Bed The Right Way
-
Save
Aside from good wood and ventilation, sometimes, the longevity of your fire also lies in your fire bed.
The first thing you want to do is to dig a hole on the ground that’s to be your fire bed.
If you’re in the wilderness, you can get a branch that you can use as a digging stick. It just has to be quite thick and very strong.
Dig a hole that’s about the side of your torso with a width of about one yard. Fill it up with coal or wood then top it off with your tinders.
This is also where you can apply the tipi or teepee method. You can just lay the woods side by side or use both designs together for a stronger fire that’s perfect for cold weather.
Now, how do you keep a fire burning in the rain?
Now, what if it rains? That may just be the ultimate survival situation.
But it’s still possible to build a fire and maintain it!
You must choose the right spot first. Building your fire somewhere shielded is good but you also want to make sure the shields, such as overhanging leaves, won’t catch fire.
On the other hand…
You can also build a loue tent or tarpaulin to protect your fire. Just make sure that it’s high enough to avoid being scorched.
This is the tarp I use whenever it drizzles and I want to maintain a good fire.
Your tinder must be dry. But if you don’t have any dry tinder, you can also shave them from your existing wood and use them to catch fire and start it.
Now, you also have the choice to lift your fire off the ground in case the ground is getting wet. That means elevating your fireplace.
To do this, you simply have to arrange your tinder and fuelwood or large kindling on the wet ground, and then arrange another layer but going in the opposite direction. This method will let you elevate your fire a few inches from the ground while providing good ventilation for it.
But that’s not all.
You can also do it the other way by digging a deep hole on the ground until the earth feels dry. Then you can create your fire bed there. It’ll be much safer but still requires a layer of protection from the rai.
And speaking of protection, you can also use your wood and let them lean to each other to sort of shield your fire from the rain.
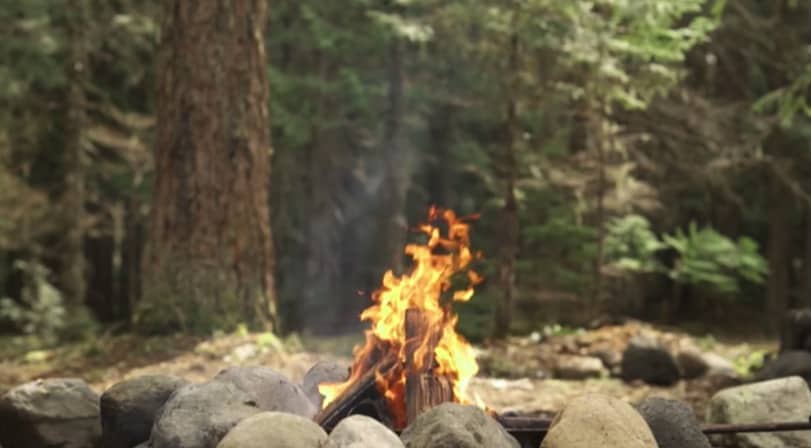
Conclusion - How To Keep A Fire Going
-
Save
It’s easy to go on without much food but it will be real hard without fire and heat to warm you up against cold air.
There are numbers of ways to prolong a fire especially in a survival situation and the ones below are the most effective ways among all that we’ve tried.
But…
Aside from the goal of keeping your fire going, never forget to always do safety checks and measures, both for your companions and your environment.
Avoid anything that might catch fire and make sure that you and your company are getting fresh air to avoid carbon monoxide poisoning.
Most of all…
Make sure you’re always prepared anytime of the day by packing things like a set of char cloth, lighter, matches, and tinder inside your emergency backpack.
Similiar Posts
Community Cuisine: MREs and Grassroots Food Movement Engagement
Interested in the connection between community cuisine, MREs, and the grassroots food movement? This article
The Future of Food: MREs and Their Contribution to Systemic Change
Meal, Ready-to-Eat (MRE) is a convenient and portable food option that has been gaining popularity
On the Frontlines of Food Change: MREs in Food System Transformation
In a context where food system transformation is a prominent topic of discussion concerning sustainability

-
Save
About Author
Lorem Ipsum is simply dummy text of the printing and typesetting industry. Lorem Ipsum has been the industry's standard dummy text ever since the 1500s, when an unknown printer took a galley of type and scrambled it to make a type specimen book. It has survived not only five centuries, but also the leap into electronic typesetting, remaining essentially unchanged.
Author Name -

-
Save