How To Make A Water Filter In The Wild
-
Save
Share this article: Bugoutbill.com is independent – we research, test, and rate the top products to help you make the right buying choice. We sometimes use affiliate links and may receive a small commission on your purchase. Learn more…
Overview
You’ll never know the worth of water until it becomes scarce.
I’m sure – you’ve experienced having desperation to drink water to quench your thirst.
But,
What will happen, if you find yourself in survival situations in need of drinking water.
If you’ve watched zombie apocalyptic situations or other survival movies – water becomes a luxury.
And you know that a character won’t last very long without it unless he’s a mythical creature with superpowers to survive.
In reality,
A normal human being won’t last without it. Water is appetizing especially when you need it the most in your life.
So,
Learning this essential skill to make an emergency water filter would definitely help you survive a survival situation.
I bet you’re ready?
Let’s get started…
Table Of Contents
Table of Contents
Recent posts
Categories
What Does a Survival Water Filter Do?
-
Save
You need to remember some science lessons to have a water filter and survive.
If you go to a cafe near you – you’ll have a glimpse of how they make coffee from coffee grounds using a coffee filter.
The same principle works for the emergency water filter.
To simply put this,
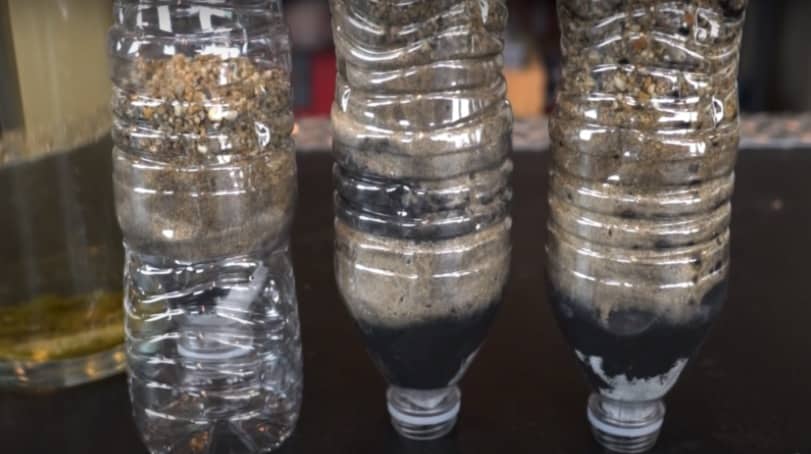
An emergency water filter uses the filtration technique or method. Filtration is when you separate the solid particles from the liquid or fluid using a filter medium.
But does it mean this will make the water safe to drink? – we’ll tackle that later!
A filter medium would be thin and thick barriers like grass, cloth, sand, rocks, and other barriers that could be an appropriate filter medium.
This way,
You’ll trap the small or large particles on top of the water, and you’ll have clear water filtered out of the container.
So, what do you need to make an emergency water filter?
Filtering Water With What You Have
So, to survive,
One needs to be creative, resourceful, and mindful. Anything could be essential to make a water filter.
I’m sure we hope that getting uncontaminated water is as easy as opening the faucet for potable water.
But, first – let’s get to the bottom line of the difference between filtration and purification.
Water Filtration
There are available water filters on the market like LifeStraw. It lets you sip straight safely from a stream or bodies of water.
Ain’t that great?
But not all water filtration products can eliminate any bacteria and viruses lurking in the water. Thus, filtration works only to filter water impurities that aren’t completely safe to drink.
And so, purification takes action.
Water Purification
This method is used in purifying water in urban and rural areas.
This involves a series of methods like the use of chemicals to decontaminate the water properly. That’s why flavors of water can vary depending on how it’s been purified.
Purification takes a few hours to make the water cleaner and much safer to drink most of the time.
We need to keep in mind these two processes, especially when we find ourselves in countries with a high risk of contaminants and viral infections.
If you’re backpacking – make sure to bring the necessary survival kit and what your gut tells you to bring, just in case.
Making a Basic Survival Water Filter From Scratch
DIY emergency water filters are the best option in most cases.
Yes, you could make it before your adventure or on the spot as long as you know how to do it.
Here are the steps to make a classic survival water filter.
Related: Survival Gear
Collect Water
-
Save
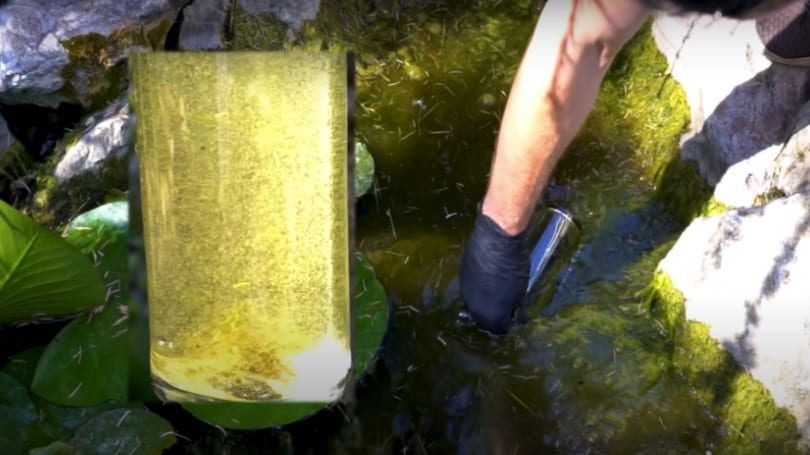
You must prepare a clean collection container. Collecting water will be your number one priority.
It can be from streams, lakes, wells, or even dirty water from nearby ponds with some nastiest things you could see. You could use an empty plastic bottle or any kind of container that’s available.
Make sure you’ve collected enough water to thrive for the day.
A simple note,
No matter how desperate you are for water – you can’t drink cloudy water right away unless filtered and purified. There are harmful pathogens in contaminated water that will increase the likelihood for your health to wear out.
But, if you have no choice and your life’s on the line, then you can drink untreated water to survive. You could see a doctor afterward.
Once you acquire water…
Let your collection container sit for a few hours or minutes just to let the materials settle at the bottom of your container.
Now,
Suppose you have your water ready. Let’s proceed to the following steps.
Cut The Bottom of Your Container
-
Save
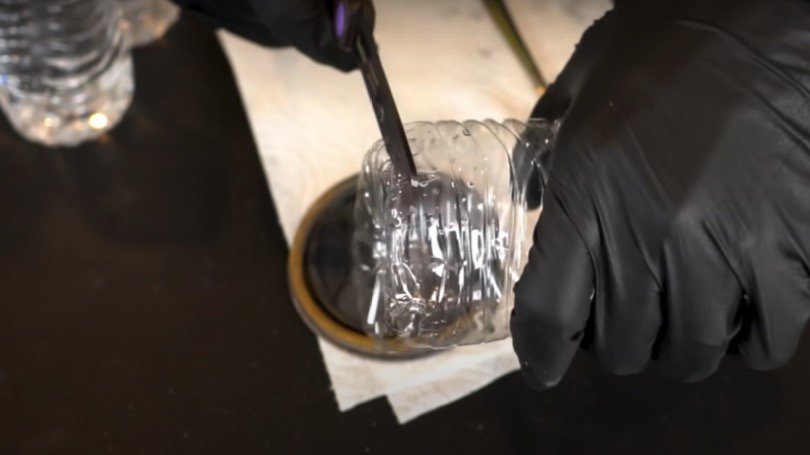
While waiting for your water – cut the bottom of your plastic container (water bottle). This is where you will put your medium.
Here,
You’ll see that a bug-out kit or emergency kit is a must – much better if you have a multi-tool that will help you multitask.
Insert Something That Will Hold Out Your Medium
-
Save
Now,
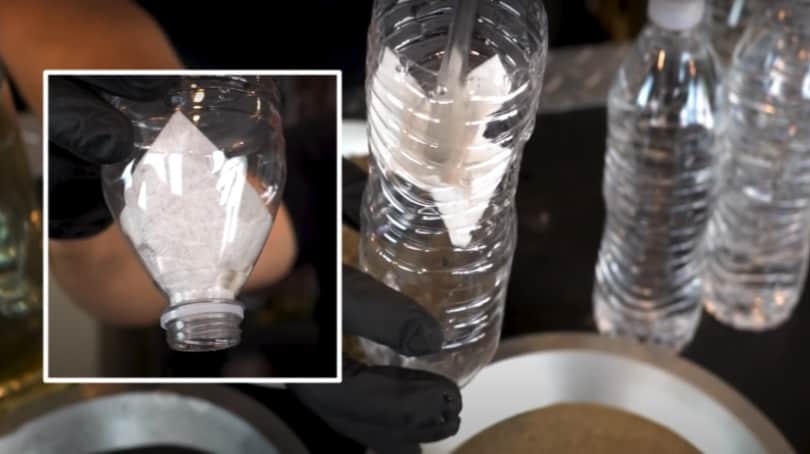
Once you’ve cut your plastic container – insert any clean cloth, carbon filter, coffee filter, moss, or grasses.
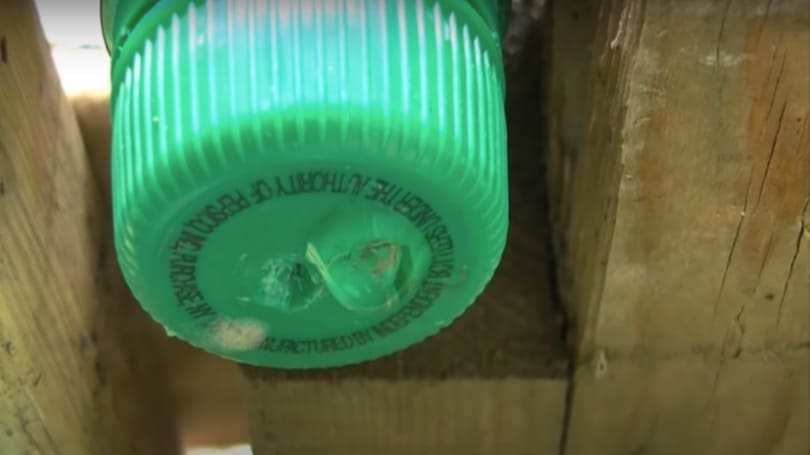
You could also use any cloth to stick down the bottom and hold the charcoal in place. Using a scissor or a knife – poke a small hole in the cap.
-
Save
If you don’t have a cap, you can do the steps the other way around.
Instead of cutting the bottom, cut the top of your container, then pole a small hole at the bottom of it.
This is a classic DIY survival water filter – you can redesign it depending on the available things you have, or what you get from nature.
Put All The Natural Materials Inside The Container
-
Save
After the previous step,
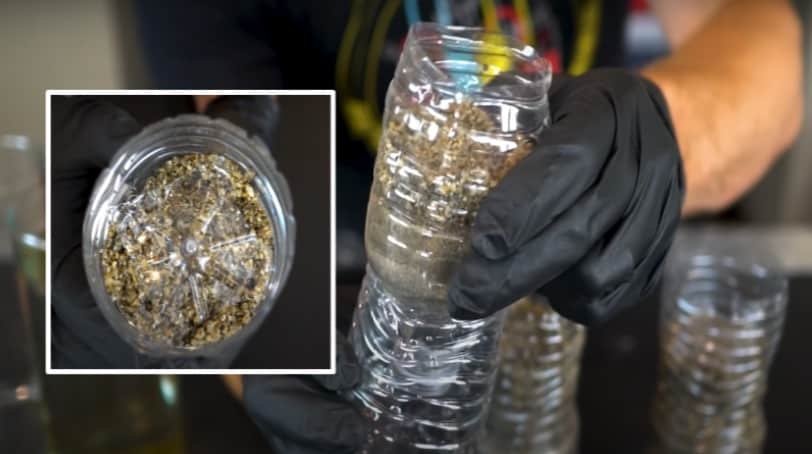
You must layer the media inside your container from finest to coarsest.
In this case,
You must fill it with fine charcoal first, then fill it with fine sand, and top this with small pebbles or gravel before you fill the big rocks.
The more material you could add, the better it’ll work.
You can also put something on top to stick the gravel or pebbles and help reduce erosion or displace the sand inside as you pour the dirty water.
It’s perfect when you’ve brought all the necessary media you need. But, in any case, nature made available all the necessary ingredients for your filter medium.
Pour Water – Slowly But Surely
-
Save
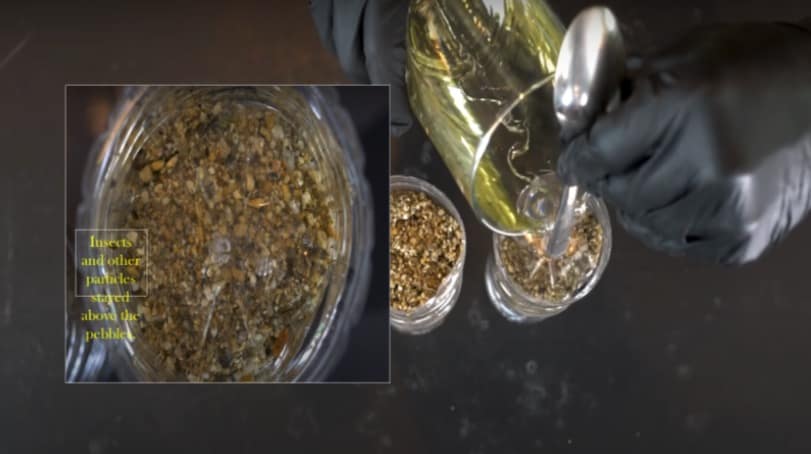
Now, you’re ready to pour your standing water.
You’ll see that the things like insects, algae, and other large debris will stay on top and will not slip through.
Wait For It – Your Emergency Water Filter Will Do The Work

-
Save
Once you pour water slowly into the filter,
Waiting is a crucial stage – but as the saying goes, patience is a virtue.
Here,
You’ll have to wait patiently as your emergency water filter does the work.
So, no matter how thirsty you are – WAIT!
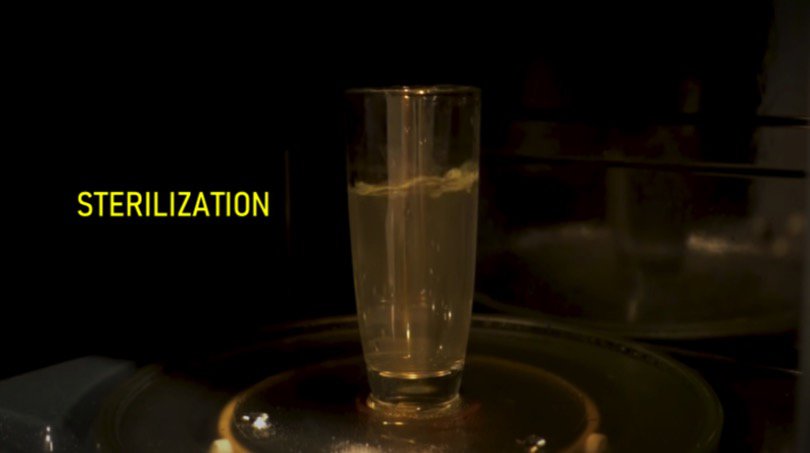
Filtered Water Is Still Not Okay – Don’t Forget To Sterilize Your Water
-
Save
We go back to the question…
Is it now safe to drink the filtered water from the makeshift survival water filter?
No – not yet!
It doesn’t mean that you filter out clear water – it’s clean water and already safe to drink.
What you don’t see is what sometimes endangers you.
There are still particles not seen by the naked eye that need to be killed. And sterilization is one way to do that.
Yes, there are other methods to sterilize your water – rolling boil or direct sunlight.
If you have your bug-out pot with you and materials to make fire – then boiling is the best bet.
Or,
You could place it in direct or UV light, which will require 6 hours of exposure if the day is clear. Two days, if days are cloudy.
You can also heat rocks to boil water, but if you’re using a plastic container – but it might not be the best option for your emergency water filter.
Water purification is crucial – you can also purify water using chemical methods or chemical treatments, as mentioned earlier.
Materials Needed
Ecological plastic bag or plastic sheet

-
Save
A plastic sheet will come in handy when you’re collecting your medium for your makeshift water filter.
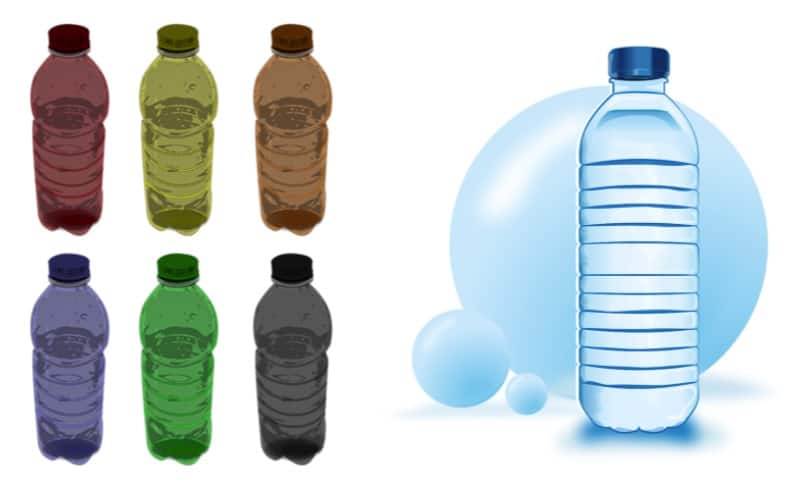
Plastic Bottle Container
-
Save
Bringing your own water bottle or container will give you an advantage.
Shirt/Cloth

-
Save
Any piece of cloth from your shirt or bandana will serve its purpose.
If you’re house trapped – you can use a paper towel, filter papers, or anything that could filter drinking water.
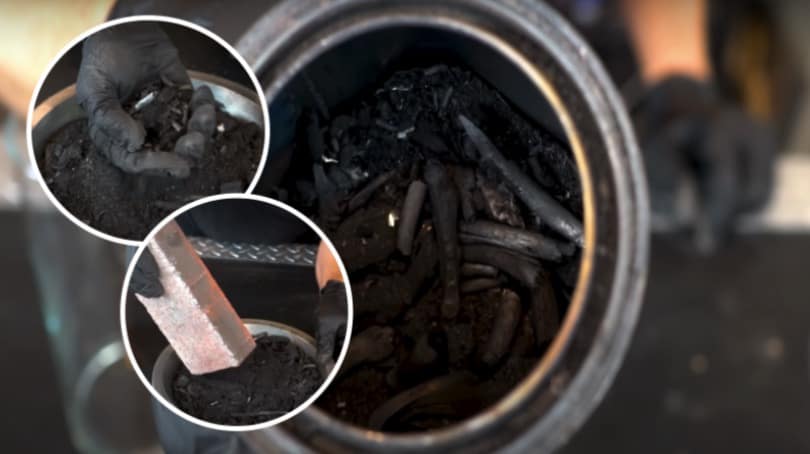
Charcoal
-
Save
Charcoal filters – you can make your own charcoal by just setting up a campfire with birch bark, a hollow log, or various materials available in your area.
-
Save
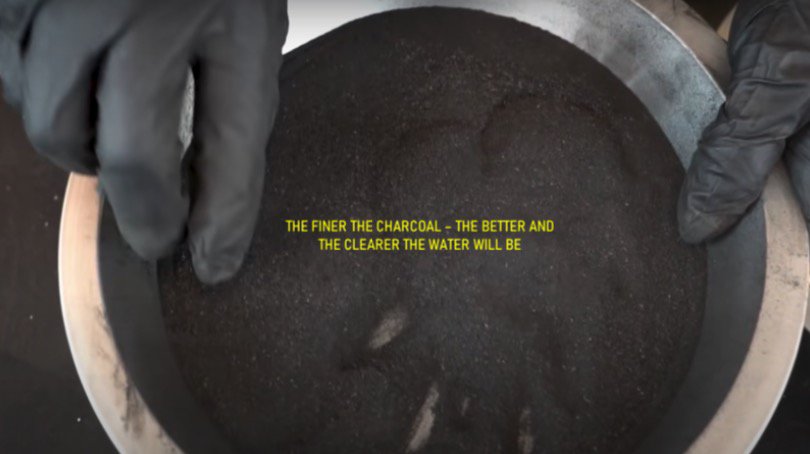
Make sure that when you put it in your container you crush it into finer particles. The finer the charcoal, the better and clearer your filtered water will be.
Sand/Gravel
-
Save
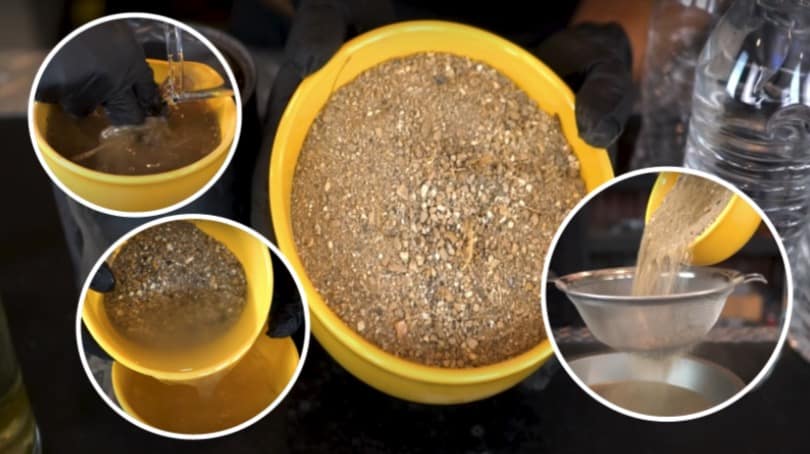
The sand acts to filter the big particulate material before it reaches the charcoal.
Small rocks or pebbles will trap the large particles or dirt present in the water. This will also reduce erosion and displacement of sand.
Chemicals
-
Save
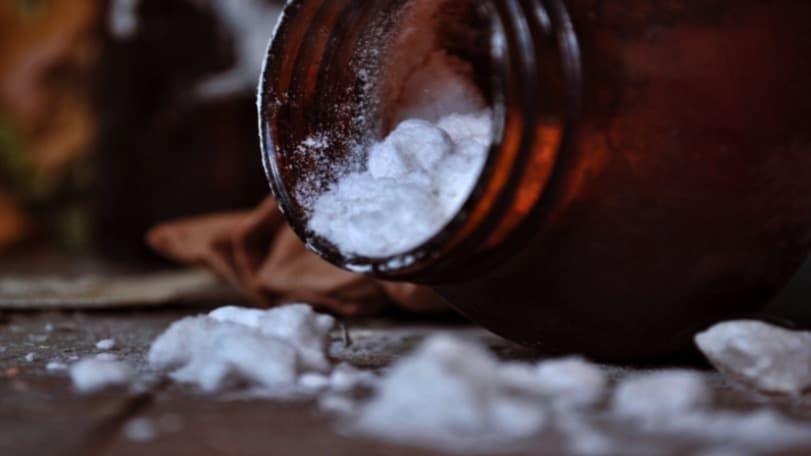
Chemicals like chlorine, iodine, and bleach will be a big help to purify water.
Iodine: You might want to add this to your travel bag. Not only will this treat wounds or cuts, but it will also aid you in dealing with untreated water.
If the water is still cloudy, apply ten drops and let it sit for 30 minutes.
However, this will affect the flavor of the water and is not recommended for pregnant women or those with allergies to drink.
But, this chemical is among the three and quick and easy to do – only with proper knowledge and precaution.
It’s also made easy because the tablet form of this chemical is now available on the market to serve travelers with their needs.
Chlorine: Like iodine, it also comes in tablet form. Apply one tablet in a liter of water and let it do the work for four hours.
Yes, you may have to wait that long, but it will effectively purify the water.
Also, the flavor of the water will not be altered and good even in the long run.
Bleach: The only reminder with bleach is that don’t apply it if the concentration is higher than 5%-8%. Two drops per quart will do the work for 30 minutes.
Related: How To make Tripwire Hook – & – How To Make Char Cloth
Conclusion - How To Make A Water Filter In The Wild
-
Save
Even so, a water purifier is available on the market. You need to be ready and have a skill set to do your own.
Fortunately,
There are several DIY survival water filter methods you could opt to do when unexpected circumstances happen.
It requires only materials that you are likely to have on hand around the house or lurking around the ground when you do backpacking.
Keep in mind that…
It doesn’t mean it’s clear, it’s clean water. Drink only untreated water if there are no other options left for you.
They say that it’s better to drink untreated water than to die in the wilderness. If you survive, you can have a full examination with your favorite doctor.
Regardless, contact your physician before drinking questionable water.
Similiar Posts
Community Cuisine: MREs and Grassroots Food Movement Engagement
Interested in the connection between community cuisine, MREs, and the grassroots food movement? This article
The Future of Food: MREs and Their Contribution to Systemic Change
Meal, Ready-to-Eat (MRE) is a convenient and portable food option that has been gaining popularity
On the Frontlines of Food Change: MREs in Food System Transformation
In a context where food system transformation is a prominent topic of discussion concerning sustainability

-
Save
About Author
Lorem Ipsum is simply dummy text of the printing and typesetting industry. Lorem Ipsum has been the industry's standard dummy text ever since the 1500s, when an unknown printer took a galley of type and scrambled it to make a type specimen book. It has survived not only five centuries, but also the leap into electronic typesetting, remaining essentially unchanged.
Author Name -

-
Save
