How To Make Char Cloth
-
Save
Share this article: Bugoutbill.com is independent – we research, test, and rate the top products to help you make the right buying choice. We sometimes use affiliate links and may receive a small commission on your purchase. Learn more…
Overview
If you’re an outdoors enthusiast or a survivalist, you no doubt know the value of a good tinder.
Without flammable dry tinder, you won’t be able to start a fire using matches or a lighter. Char cloth is undoubtedly the greatest tinder for igniting a good fire, as it has always been for centuries now.
Making char cloth is rather straightforward, but there are a few concerns to be aware of.
Here, we’ll go over how to produce char cloth and how to troubleshoot these problems.
Read on to see the most effective way to produce a good char cloth that you can stock up on your survival bag.
Light it up!
Step by Step Guide:
Table Of Contents
Table of Contents
Recent posts
Categories
Step 1 - Start With A Small Tin
-
Save
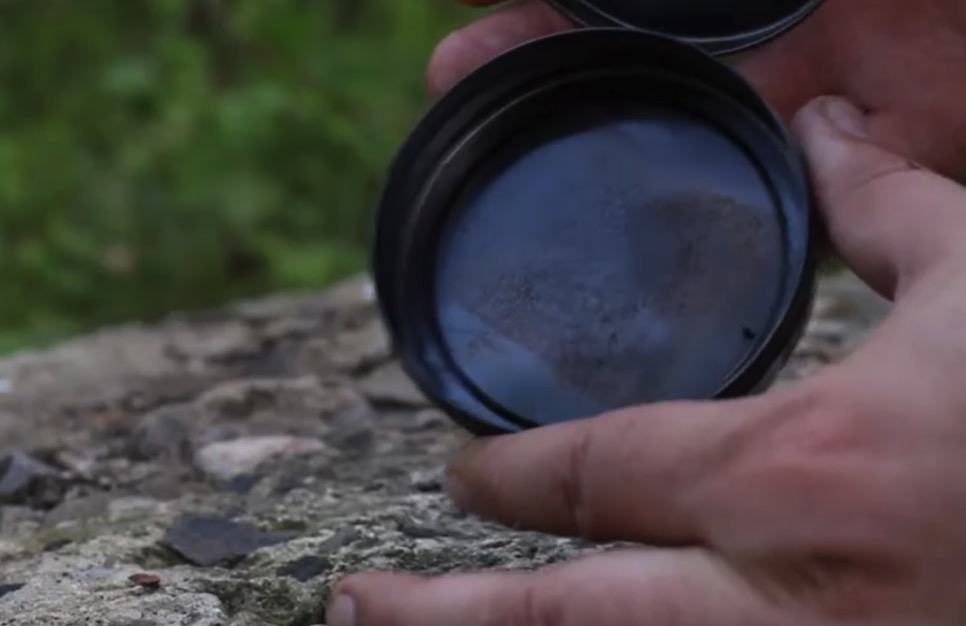
The first step you need to do is to get a good metal tin. Any metal tin will do as long as it’s airtight and fire-proof.
You’d most probably see many people prefer Altoid tins for making a char cloth but you don’t have to stress yourself if you can’t find one!
You can use a soda can and just cover the top with tin foil. You can also make do with a cookie tin container. You can use any tin containers you have as long as they will be able to withstand fire.
Some people like to make big batches of char cloth.
You can certainly do that too! All you need to do is replace the small metal tins with big ones, such as a paint can. Just make sure to clean it thoroughly and remove any leftover or dried paint so that it wouldn’t hinder the production of your char cloth.
(Prefer to have the handy char cloth instead? Get your Altoids tins HERE)
Related: Survival Gear
Step 2 - Punch Hole In Tin
-
Save
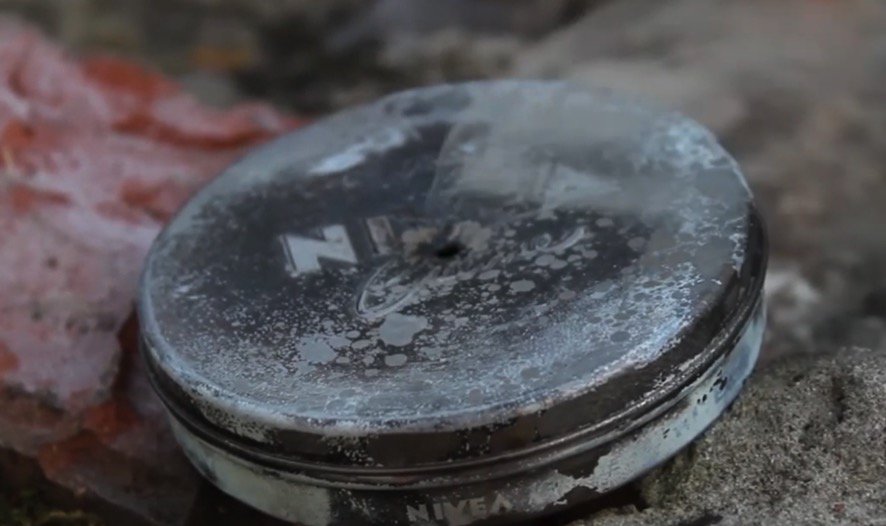
Now that your tin is ready, it’s time to punch a small hole into it.
What is it for?
Well, the key to making good char cloth is to let it cook without any oxygen inside. Later on, you’ll notice that the smoke will be coming out of the small hole as then tin burns. It’s the oxygen escaping.
Take note: The hole needs to be real small. It shouldn’t be greater than eight of an inch.
You can also choose to punch a hole on either side of your tin if you want to be sure that gas will be able to escape better as your char cloth cooks.
Related: How To Make A Paracord Bracelet
Step 3 - Cut Your Cloth
-
Save
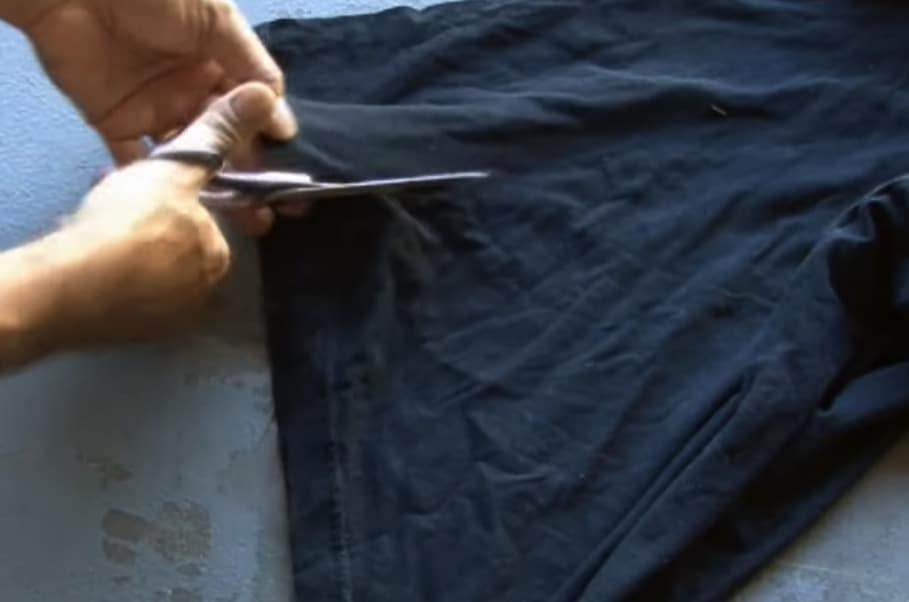
Cut your cotton shirt or fabric into your desired size. Normally, I like to cut them into around 2 x 2 to 3 x 2 inches. Just enough to fit a candy tin container. You can cut as big as 4 x 4 inches depending on the size of your tin.
Just keep in mind…
That the char cloth’s size will shrink into a smaller size after it’s charred.
Related: How To Build A Bonfire
Step 4 - Acquire Your Cloth
-
Save
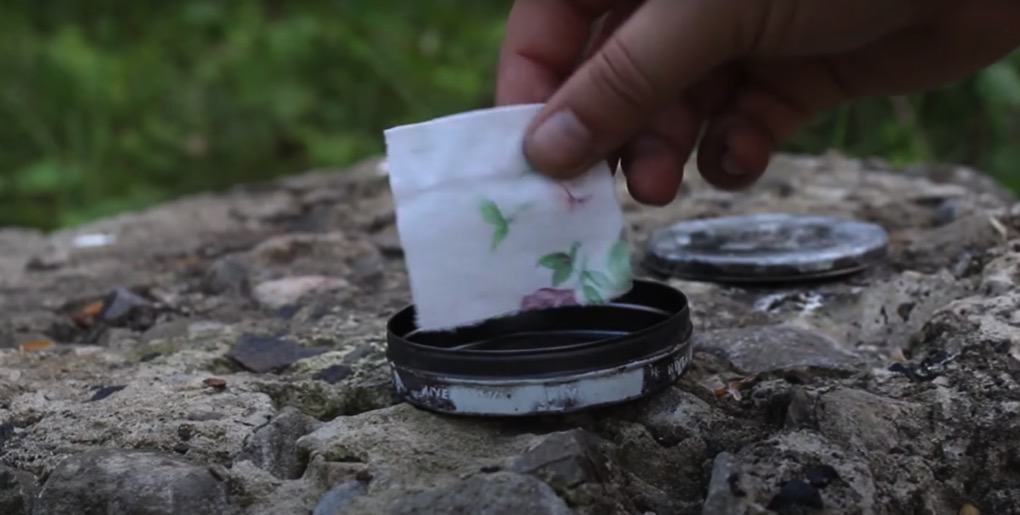
Now, take the cloth that you’ll turn into a tinder. The only rule for this is it needs to be of perfectly organic material or 100% plant fiber.
You’ve most probably heard that you can only use nothing but cotton material. But that’s not true.
Any fabric will do, as long as it’s 100% natural plant fiber. I got mine from HERE when I ran out of organic cotton fabrics to recycle.
You can use an old 100% pure cotton T shirt or just buy a new one.
Just remember…
You can’t use synthetic fabrics such as polyester as it will stop sparks from developing into a fire and they also tend to melt. In addition to that, a wool material won’t work, as well.
If you could find one, rougher cotton balls or cotton fabrics will be more preferable as rough materials tend to catch spark much faster and easier.
Step 5 - Gently Lay Cloth Pieces In Tin
-
Save
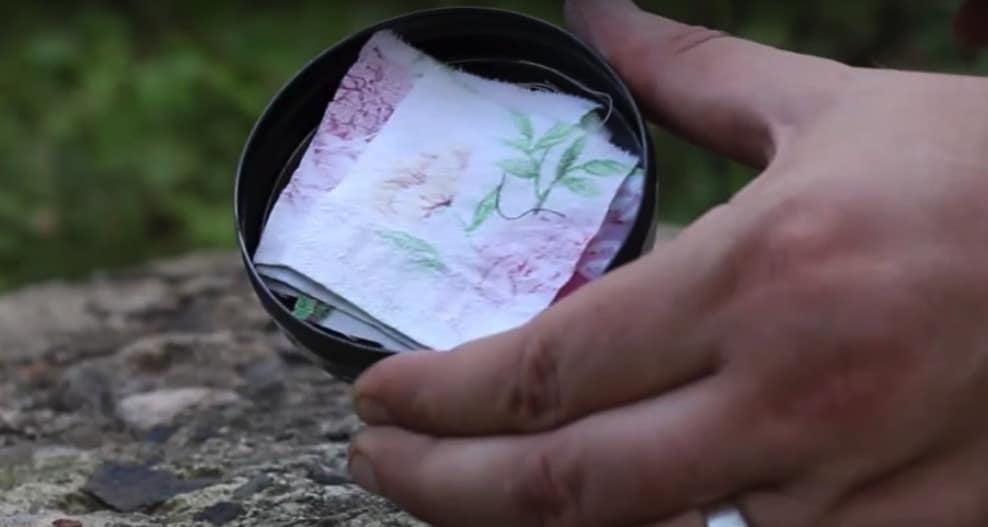
After cutting your cotton cloth into smaller pieces, it’s time to tuck them inside your tin container.
For this, you must remember to not lay them or press them tightly together. It’s better to let there be a few allowances of spaces in between so the cloths could char evenly.
If you’re using a regular Altoid tin, it will be able to fit around seven to eight cloths.
Step 6 - Place Closed Tin On The Heat Source
-
Save
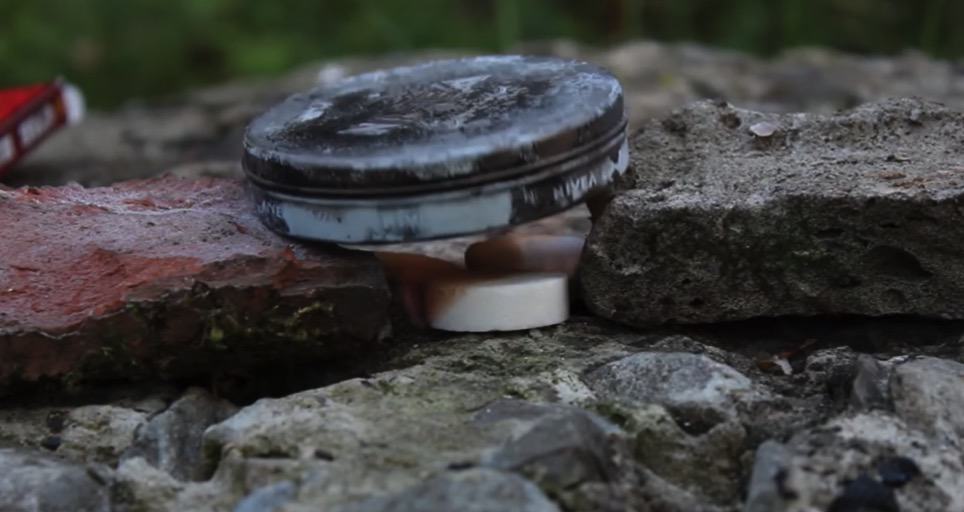
You can use any heat source that is readily available to you. It could be a camp stove, kitchen range, or a simple campfire.
But if you want the best result…
I’d say opt for coal instead.
I’ve mentioned earlier that the gas escaping your tin is an important element to be able to make good char cloth and that’s what the hole is for.
By placing your tin on a direct fire, it will be difficult to see whether there’s smoke coming out of the hole or if it’s already stopped.
On the other hand…
You can also try making fire on your portable camping stove and letting it burn down to coals after which you can then put your tin over them.
Step 7 - Allow The Tin To Cook
-
Save
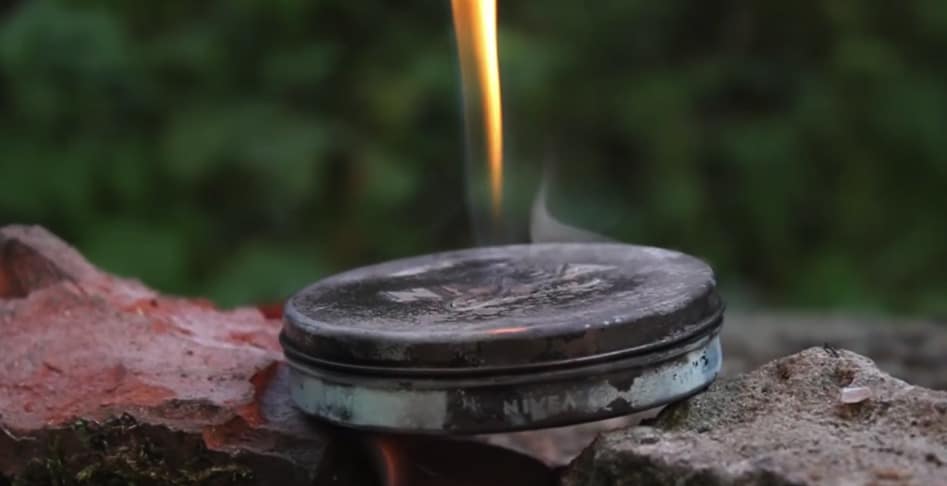
Now, the important thing to do is to keep an eye out for smoke emerging from the hole. A constant stream of smoke should be flowing out.
What’s happening now is the process called pyrolysis.
Pyrolysis happens when organic material such as cotton balls is subjected to high heat in a mainly oxygen-depleted environment. It alters the material’s composition as oxygen escapes the container.
The finished product would be your char cloth.
That’s why it’s important to get an almost airtight tin container because oxygen elimination is an important element in this process to be able to make good char cloth.
You might also notice flames shooting out from the sides and hinges of your tin container. Don’t fret as it’s only natural.
Step 8 - Let It Cool
-
Save
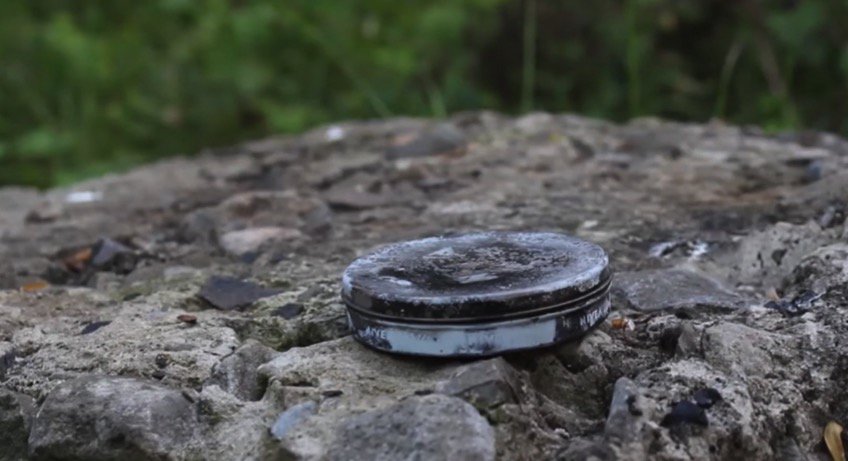
As the slow burning (as it should be) progresses, you may also need to flip your tin so your cloth could char evenly.
Without flipping it, there’s a chance that your char cloth would end up over-charred on one side and undercooked on the other.
Also…
You may see more smoke coming out of the tin after you flip it. It means that only one side was charred so you need to wait for a few more minutes for the other side.
It may take around fifteen to thirty minutes (depending on your heat source) after which the flame should go down or out until there’s no more smoke coming out from the tin’s vent or hole.
That means your char cloth is almost ready.
But that’s not all!
After the smoke has gone out, you may now remove the tin from the heat source.
Take note: Ideally, you should remove it within 30 seconds after the smoke has gone out. Once the smoke disappears, it means that oxygen is free to enter the hole again and it might make your tin and cloth combust instead of just cooling down and charring.
If you used coal…
All you have to do is push your tin to the side and away from the heat and then let it cool.
But it’s different if you made your char cloth with an open fire because the tin could also be ignited during the cooking process and there’s no way of knowing whether the cloths have been ignited inside the container.
Now, if you open the tin container and it turns out that the cloth had been ignited, the air could start it on fire and it will completely burn- not to mention that it’s also quite dangerous.
That’s why…
You need to let it cool down first. And if you’re not sure, you can put it in an oxygen-deprived environment while it cools down so in case it’s been ignited inside, there would be more time for the fire to die down, preserving your char cloth in the process.
That oxygen-deprived environment could be an airtight container or deep under the earth.
Step 9 - Open the tin and inspect the char cloth
-
Save
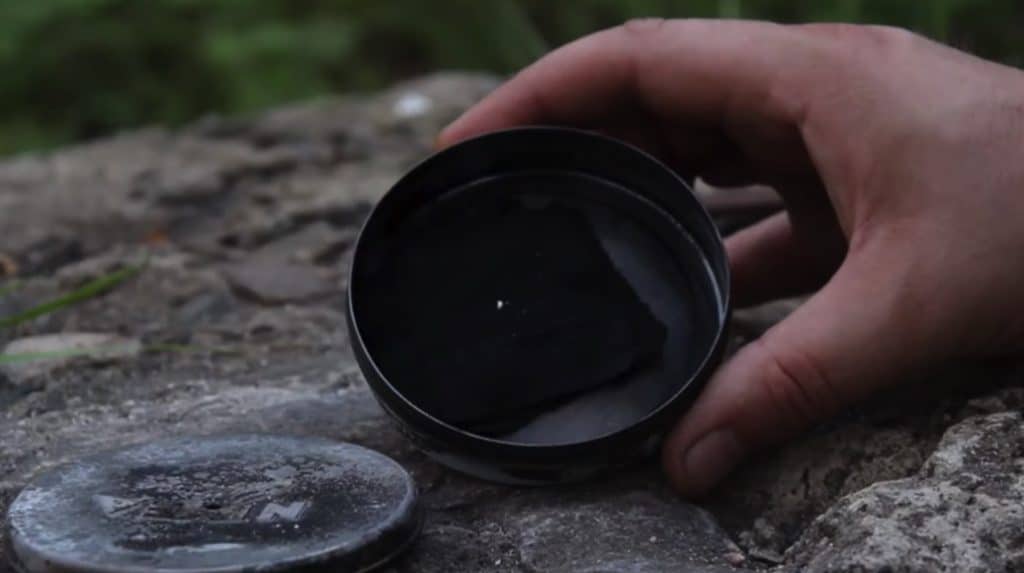
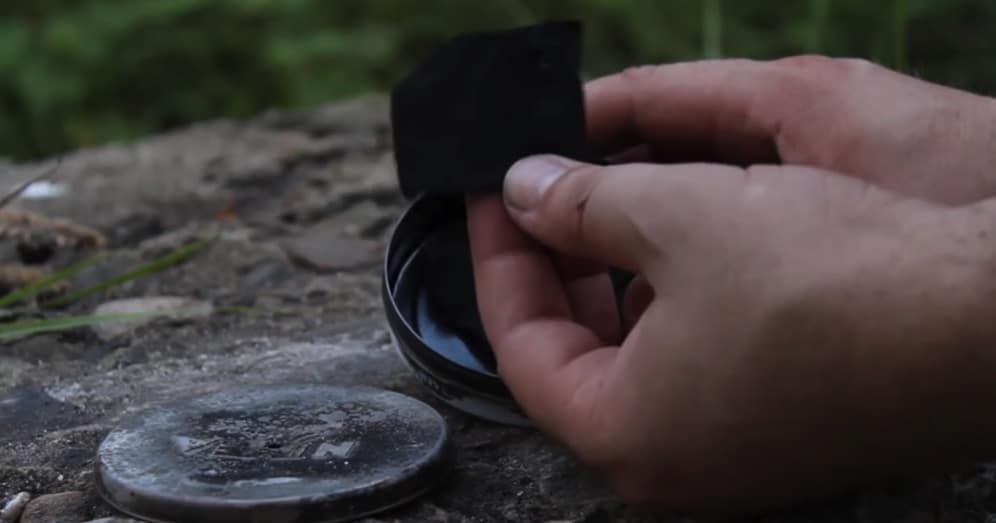
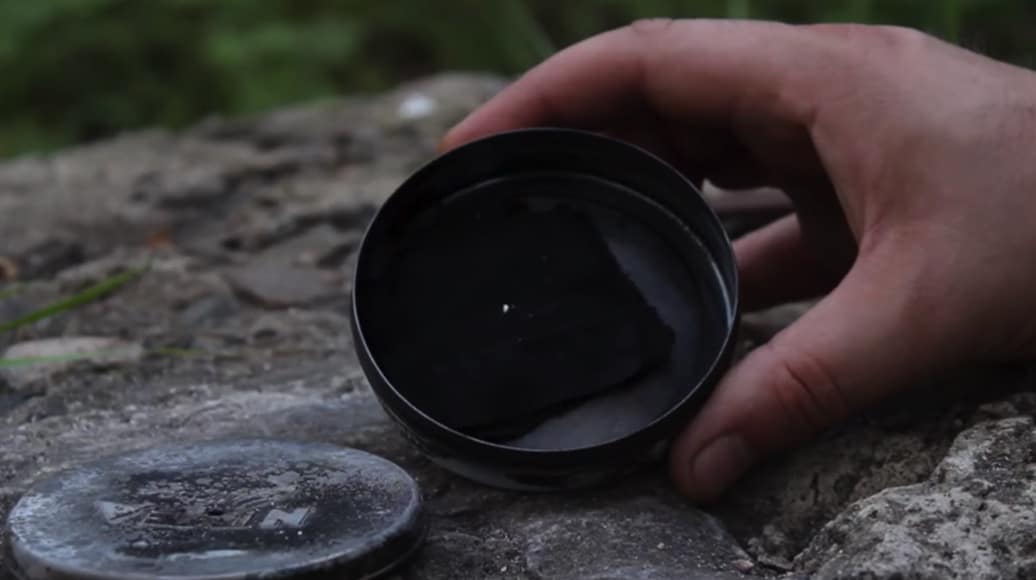
After letting the tin cool down and making sure it’s not ignited, you may now open the container and check your finished char cloth!
So how will you know if it’s done right?
An undercooked char cloth would appear to be not completely black. You may even see some patches of the fabric’s original color. In that case, you can just simply rearrange the pieces of cloth and put the undercooked ones on the other sides and then pop it on the heat sources once again.
Now, an overcooked char cloth will appear to be completely black and when you touch or hold it, it could crumble into dust. It would be so fragile that it’s nearly impossible to hold it without destroying it.
In that case, you’re left with no other choice but to do it all over again.
On the other hand…
A perfectly cooked char cloth would also look black. But it will still have its original shape and it’s not crumbling into ashes. You can still hold it and it’ll stay in one piece.
Now, in case you’re new to this and you might be asking yourself…
What is a char cloth?
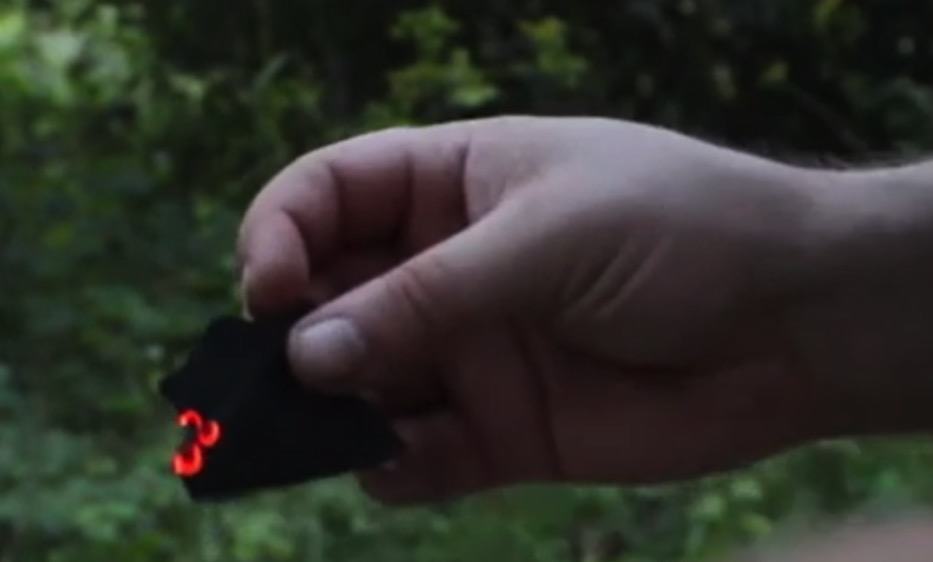
To put it simply, char cloth is made from a pure plant-based fabric and is used as an instrument to convert a small spark of fire into a big fire for a tinder bundle.
Using a flint and steel, you can use this low ignition temperature material and convert that tiny spark into a big fire. Campers and survivalists love using char cloth because it makes fire-making much easier and less frustrating.
Conclusion: Steps to Making Char Cloth
-
Save
Whether you realize it or not, fire is one of our basic needs when it comes to survival situations. But of course, campers and survivalists already know that.
Some people like to go back to the basics, such as making their own char cloth, just for fun or for the thrill of it.
But now that the world we live in is proving to be more and more unpredictable as time goes by, it’s a comfort like no other to have your basic necessities all safely packed up in your backpack.
So take that tin container now and into your bug-out bag. To make a char cloth is a simple but tricky process but in the end, the finished product is always worth it.
Similiar Posts
Community Cuisine: MREs and Grassroots Food Movement Engagement
Interested in the connection between community cuisine, MREs, and the grassroots food movement? This article
The Future of Food: MREs and Their Contribution to Systemic Change
Meal, Ready-to-Eat (MRE) is a convenient and portable food option that has been gaining popularity
On the Frontlines of Food Change: MREs in Food System Transformation
In a context where food system transformation is a prominent topic of discussion concerning sustainability

-
Save
About Author
Lorem Ipsum is simply dummy text of the printing and typesetting industry. Lorem Ipsum has been the industry's standard dummy text ever since the 1500s, when an unknown printer took a galley of type and scrambled it to make a type specimen book. It has survived not only five centuries, but also the leap into electronic typesetting, remaining essentially unchanged.
Author Name -
-
Save

