How To Build A Bonfire
-
Save
Share this article: Bugoutbill.com is independent – we research, test, and rate the top products to help you make the right buying choice. We sometimes use affiliate links and may receive a small commission on your purchase. Learn more…
So you want to learn how to build a bonfire?
Whether you need it to keep you warm and cozy during nighttime camping while gazing at the stars and toasting some marshmallows or as a source of light when doing some outdoor work in your backyard, building a bonfire doesn’t need to be complicated.
In this guide, we’re going to cover:
- How to safely build a bonfire;
- The different types of bonfires;
- How to extinguish fire properly;
- Safety tips;
- And many more…
Once you’ve read our guide, scroll down to see our top recommendations for the best tools to help make the whole bonfire experience a breeze.
Ready?
Read on and we’re going to walk you through the process.
Table Of Contents
Table of Contents
Recent posts
Categories
How To Build A Bonfire Step By Step Guide
-
Save
The very first thing you have to do before even thinking of building a bonfire is to check with your local fire department if bonfires are permitted in your local area and if you need any kind of permit to do so. If yes, then go get one immediately.
Once you’ve got that out of the way…
Then you can now proceed to the next steps.
Find or Build a Fire Ring
There are some things you need to remember before building a fire ring.
First off, safety.
Do it safely by selecting the right area. A lot of camping grounds have a designated area where you can build your fire; use that if there’s one. If you’re in an area where there’s none, no problem, it’s quite easy to construct one. Firstly, remove everything on the ground— any plant material, tree branches, and debris from rotting leaves and needles— until the area is completely bare. Pay special attention to removing any dry grass and branches, as they quickly catch fire. Do that until you have a wide circular area of bare earth. Make sure also that there’s nothing overhead, like tree leaves or low-hanging branches, that could catch fire or crash down later.
Once you’re done, you can start by digging a tiny fire pit into the dirt, then lining it with large stones. Fill the middle of the bare area with dirt or sand.
Now it’s time to prepare the fuel you’re going to use.
Gather Fire Wood
-
Save
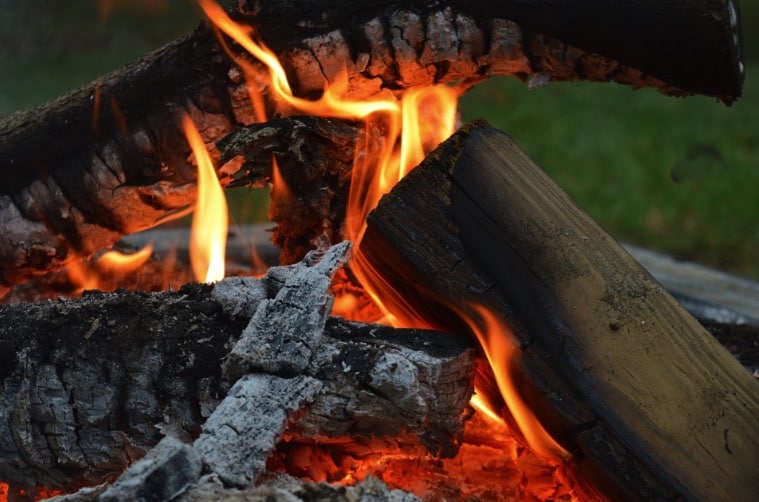
To construct a blazing campfire, you will need these three types of fuel: tinder, kindling, and fuel wood.
Tinder is basically anything that easily lights and catches fire, such as dry leaves and barks, wood shavings, birch bark, small twigs, pine needles, dryer lint, or newspaper, that helps the fire keep going long enough for the bigger things to burn. Kindling are small sticks that burn longer than tinder and aid in the ignition of your fuel wood. On the other hand, firewood or fuel wood are large pieces of logs that keep the fire burning for a long time; maple, oak, and black cherry are some of the most common choices for firewood.
Aside from which type of fuel wood to get, there are other things you have to keep in mind when gathering wood. Firstly, know about your area’s local regulations and restrictions, so that you won’t run into any legal trouble later. Second, pick tinder and kindling that are dry and easily breakable; remember that dry wood burns the easiest. For that reason, steer clear of wet wood and rotten wood, which contains a high percentage of moisture and doesn’t have much density, which means it won’t burn for as long.
It’s most likely to find nice dry woods under the trees or bushes as those have been protected from water and rain.
Related: How To Escape From Handcuffsest
Fire-Building

-
Save
And now for the main event, it’s time to build a fire.
But first, you’re going to do some preparations. Here are some things you can do to help you build fire effectively and safely.
Preparations
- Examine the weather. Don’t build a bonfire if the weather is dry and windy.
- To completely ensure your safety, make sure first that you’re wearing appropriate protective clothing. Choose clothes that are made of non-inflammable materials. It’s also best to skip your favorite sneakers and flip flops, as rubber easily catches fire.
- Another thing you can do to increase your safety is to keep an ample water supply or a fire extinguisher nearby just in case something goes wrong.
Now you can gather all your firewood and get started with constructing your fire.
Construction
But wait…
Before you proceed, you need to determine first what kind of fire you’re going to construct. Here are the most common types of fire lay that you can choose from:
Related: Survival Gear
Teepee
-
Save
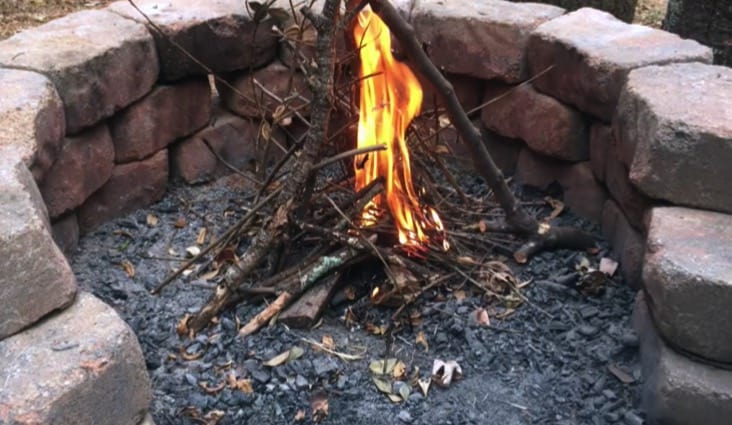
Teepee Fire lay is easy to set up, lights easily and doesn’t require any tools or much wood. It burns very hotly, so it’s the best option when it’s freezing cold out there. This technique comes in handy when cooking or boiling water. When learning how to create a campfire, most people opt for it because of how simple it is. The downside to this is that it’s quite high-maintenance and requires more tending than the other types, and it also doesn’t burn that long.
To create a Teepee, form a cone of smaller pieces of logs, with tinder and kindling in the center. Leave some space on the side so that the fire can get the oxygen it needs.
Pyramid
-
Save
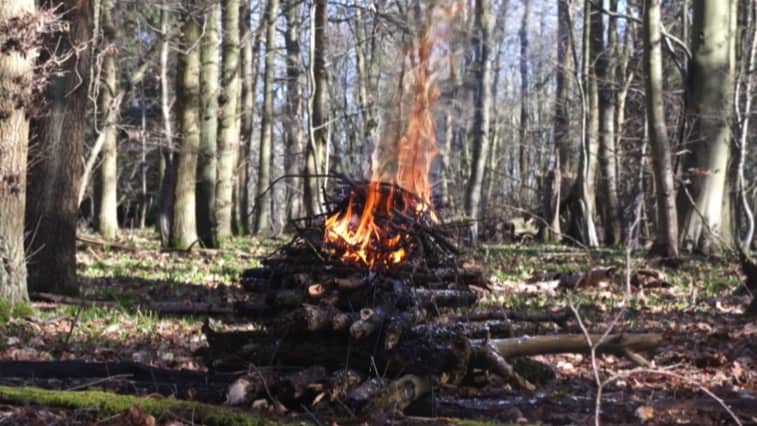
Also called an upside-down fire lay, pyramid fire burns for a long time and doesn’t require much attention. It’s low-maintenance and self-sustaining. However, it takes quite a lot of time to set up.
To start constructing a pyramid fire lay, take about three or more large firewood and lay them on the ground, about a foot away from each other. Put the next layer perpendicular to the initial layer. For further stability, create another layer, switching directions with each top layer. Just continue building your fire structure until you’re happy with the size of your pyramid.
Log Cabin
-
Save
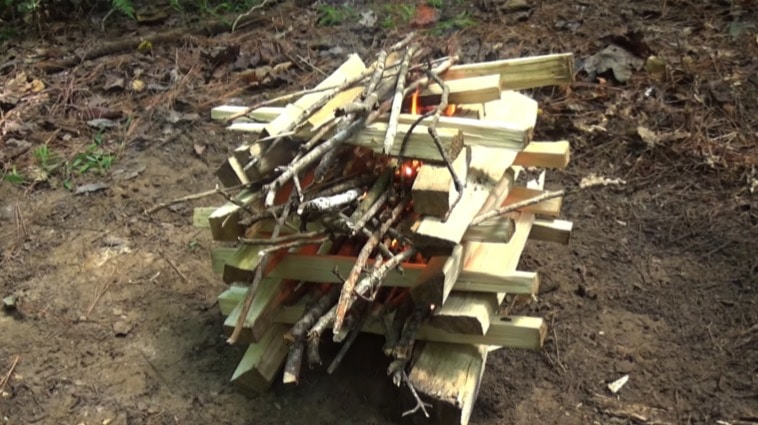
Log cabin fire lay won’t probably be our first option when in a survival situation as it requires a lot of time, fuel logs, and tools, but it certainly still has its advantages— compared to teepee fire and pyramid fire, it can work even with wet wood, burns for a long time, generates high heat, doesn’t collapse easily, and is aesthetically pleasing.
Now to make a log cabin fire lay, start off by taking a large pile of tinder and placing them in the fire pit. Grab two smaller pieces of fuel wood and put them parallel to one another. On top of the first layer, place kindling parallel to each other, forming a square shape. It’s basically like you’re building a cabin; if you’ve ever played Lincoln Logs before, this will be familiar and easy to you. Then form a small teepee on top of the tinder in the center. You can now light up the tinder for a slow-burning fire.
Have you decided which type of style you prefer?
On to the next step!
Light the Campfire
-
Save
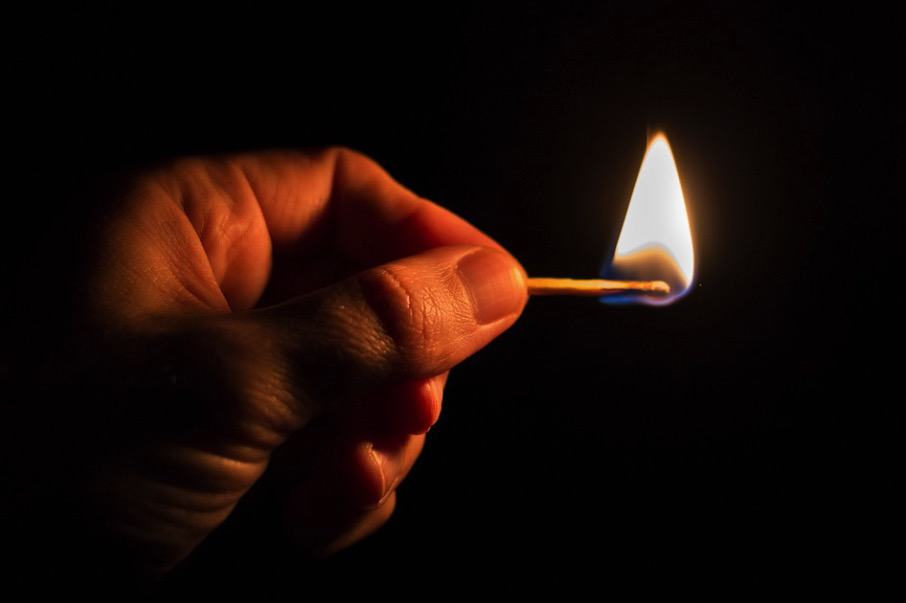
To light a campfire, the first step is to take a handful of tinder and pile it in the center of the fire pit. Using a match or lighter, light the tinder underneath all the logs. Make sure that the match is completely cold before tossing it into the flames. As the fire burns, you can add more fuel or more wood so that it can burn longer. Blowing lightly at the base of the fire will provide the oxygen the fire needs and will raise the fire’s intensity as well. Make sure to keep your fire a manageable size, always keep an eye on it, and you can now sit back with your cup of hot chocolate, and enjoy the warmth.
Extinguish the Campfire
-
Save
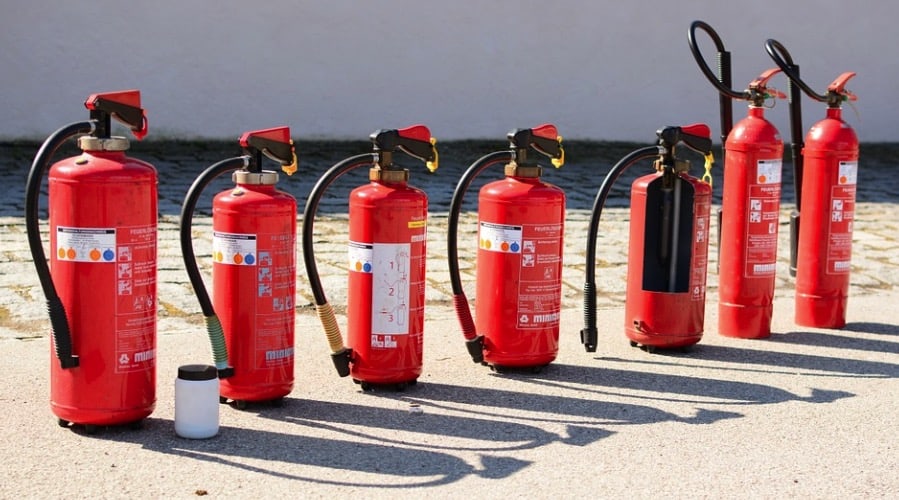
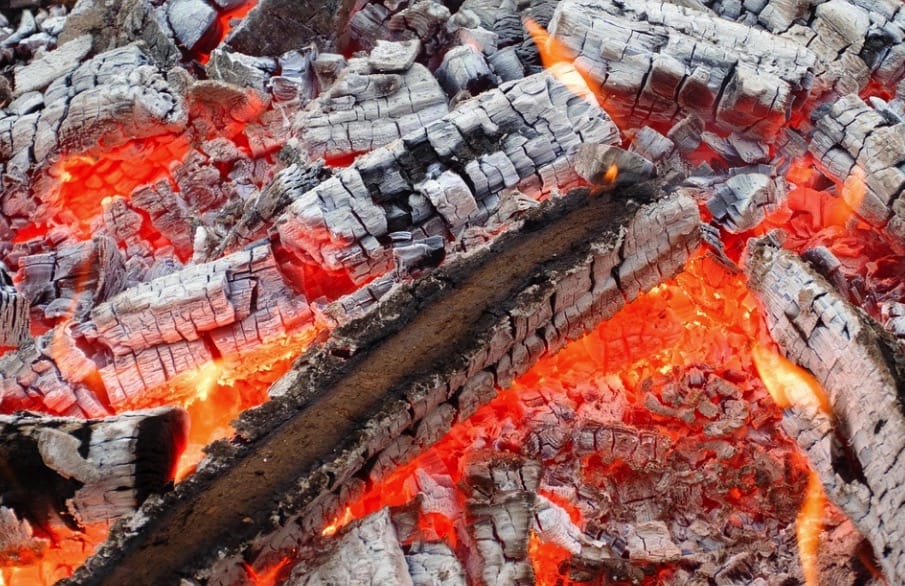
You’ve enjoyed the warmth and comfort of your fire the night before, and now it’s time to extinguish the fire. The problem is, sometimes, a campfire may seem like it’s completely out, but in truth, with just enough oxygen and wind, it can reignite easily.
Thankfully, we can avoid that by using water to properly extinguish the fire. Assuming you’ve followed our advice, you should have a generous supply of water with you. To avoid flooding the area, sprinkle the water on the embers instead of just pouring it all at once. Next, stir them around with any stick or shovel if you have one with you. Keep sprinkling water while stirring until the ashes are cool to the touch— and by touch, we don’t mean putting your hand on the ashes! Just place the back of your hand near the ashes and if you can’t feel any more heat, you’re done.
Clean up the Campfire
-
Save
Out of consideration for the next camper, it’s best not to leave a fire bed full of ashes, so make sure to remove the ashes and dispose of them before leaving. Grab some bags, gather the ashes and put them inside, then scatter them around the camping ground.
Best Campfire Tools
-
Save
And because you’ve stuck with us, as we’ve promised, we’re giving you some of our top picks for campfire tools to make the experience even easier for you.
Without further ado, here you go!
Walden Fire Pit Stoker Poker XL 46-inch Extra Long Fire Poker
One of the most overlooked things when it comes to campfire preparations is bringing a poker stick with you. That’s because one might think that just any stick will do. Well, we’re telling you that it’s a mistake to think so. A good poker stick will help you manage your bonfire in a safe way. Our favorite poker stick is the Walden Fire Pit Stoker Poker XL 46-inch Extra Long Fire Poker. This poker stick is made from durable high carbon steel material and has the ability to re-arrange and manage your logs from up to four feet away, so you can be assured of your safety. It is also equipped with an innovative air valve that enables you to stoke the fire without breathing in the smoke. It’s easy on the eyes as well, lightweight and comfortable to hold.
Get it now on Amazon.com
iunio Foldable Portable Camping Shovel
The iunio Foldable Portable Camping Shovel is a great option for a campfire shovel as it’s very portable and is easy to bring anywhere. With a high-carbon construction, its sturdiness is top-notch, making it perfect for any kind of outdoor activities like hiking, backpacking, gardening, and hunting, The blade is wear-resistant, and the handle has a rubberized grip, making it tough yet comfortable to hold and to use for hours. Aside from its durability, the one thing we like the most about this campfire shovel is that it’s foldable— with the carrying pouch with a belt loop that comes with it, you can easily store it on any bag or attach it to your belt.
Get it now on Amazon.com
SUMPRI Marshmallow Roasting Sticks, Rotating 34-Inch Multicolored Extendable Forks Set of 6 Campfire Accessories
This affordable set of cute marshmallow roasting sticks is an awesome addition to your campfire tools and accessories. We all know that bonding over a bonfire isn’t complete without marshmallow-toasting, so might as well get some tools that will make the experience even more enjoyable. These adorable marshmallow roasting sticks are made from non-toxic stainless steel material, so you can be assured of safe, rust-free, and fun s’mores- and marshmallow-toasting. Moreover, the handles are rotatable and come with multiple bright colors for easy identification, while the forks are extra-long and strong— no more spinning marshmallows!
Get it now on Amazon.com
bayite 1/2 Inch X 6 Inch Large Ferro Rods Ferrocerium Rod Drilled Survival Fire Starter with Toggle Lanyard Hole for Camping Emergency
While we’ve guided you on how to make a bonfire with fuel logs, a fire starter is a great alternative too. Something we’ll always highly recommend is the bayite Large Fire Starter with Toggle Lanyard Hole for Camping Emergency. This fire starter is wind-proof, weather-proof, and can provide up to 3000 degrees celsius spark in any weather condition; its bright spark can also be used as an emergency signal or for self-defense.
Conclusion How To Build A Bonfire
-
Save
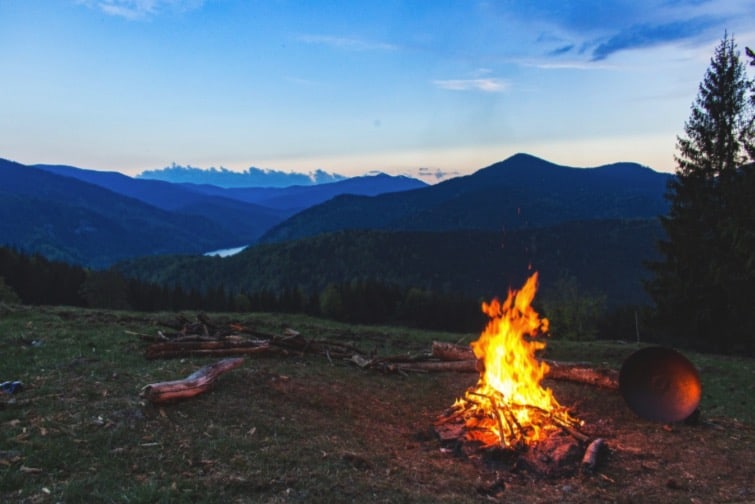
So there, now you know how to build a beautiful, blazing bonfire!
Toasting some comfort foods while sharing fun stories with your friends and family is one of the most joyful things you can experience.
The great thing is…
You don’t have to spend lots of money or use a ton of tools in order to experience this. Now that you’re armed with the proper knowledge about how to build a bonfire successfully and in a safe way, there’s nothing stopping you anymore from going out there and constructing your first one.
If you find this article helpful, don’t forget to share this with your friends or any bonfire beginner.
Good luck and happy camping!
Similiar Posts
Community Cuisine: MREs and Grassroots Food Movement Engagement
Interested in the connection between community cuisine, MREs, and the grassroots food movement? This article
The Future of Food: MREs and Their Contribution to Systemic Change
Meal, Ready-to-Eat (MRE) is a convenient and portable food option that has been gaining popularity
On the Frontlines of Food Change: MREs in Food System Transformation
In a context where food system transformation is a prominent topic of discussion concerning sustainability

-
Save
About Author
Lorem Ipsum is simply dummy text of the printing and typesetting industry. Lorem Ipsum has been the industry's standard dummy text ever since the 1500s, when an unknown printer took a galley of type and scrambled it to make a type specimen book. It has survived not only five centuries, but also the leap into electronic typesetting, remaining essentially unchanged.
Author Name -

-
Save
